Table of Contents
Tutorial
Scenario
The final aim of a typical genomic experiment is to find a molecular explanation for a given macroscopic observation. Signaling pathways are composed by stimulus-response subpathways related to determined functional consequences. The final aim of a microarray expression experiment between two experimental conditions is to find which stimulus-response subpathways are significantly more activated in one than the other condition. This provide a better explanation of the internal mechanisms of the disease.
Getting started
PATHiWAYS
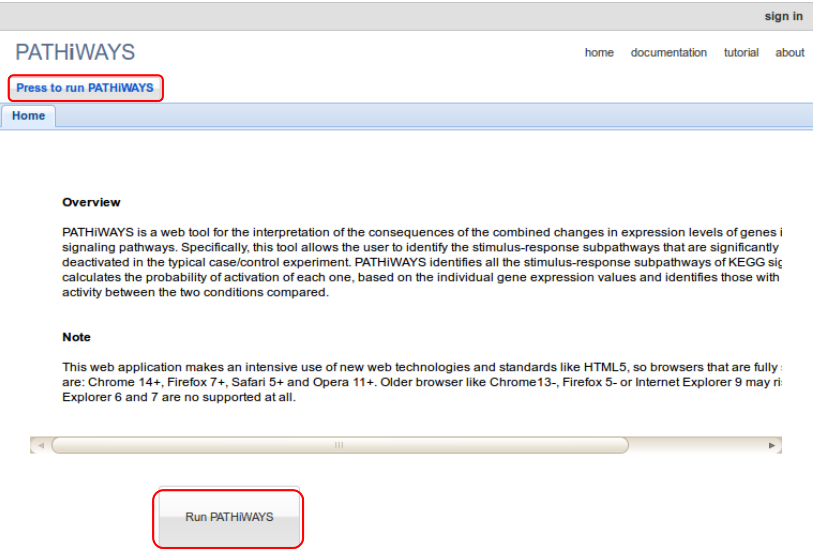
To start using PATHiWAYS click on any of the Run PATHiWAYS button.
You will redirected to the form page.
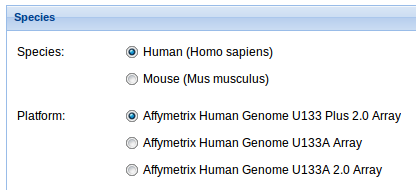
1. Species: Select the specie and the platform you are going to work with. We currently support analyses for human and mouse, and Affymetrix Human Genome U133 Plus 2.0, U133A and U133 A 2.0 Arrays for human and Affymetrix Mouse Gene 1.0 ST Array and Affymetrix Mouse Genome 430 2.0 Arrayfor mouse, but soon new species and platforms will be added. 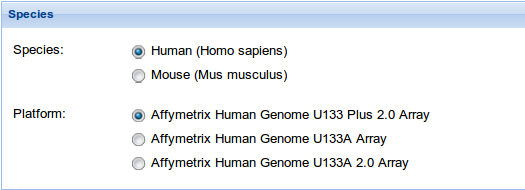
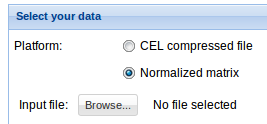
2. Select your data: Click Browse data button and select the previously uploaded normalized matrix data or compressed CEL file. See Data management section to find details on how to upload your data. For information on the input file formats see Input files section.

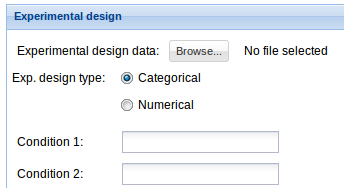
3. Experimental design: Click Browse data button and select the previously uploaded experimental design file. See Data management section to find details on how to upload your data. For information on the input file formats see Input files section. Then fill Condition 1 and Condition 2 fields with the two experimental conditions that are going to be compared. Be careful that these words and the ones in the experimental design file match.

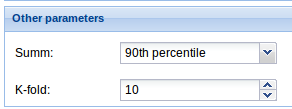
4. Other parameters: Select the way you want PATHiWAYS summarize the activation probabilities of all the genes mapping belonging to a node.

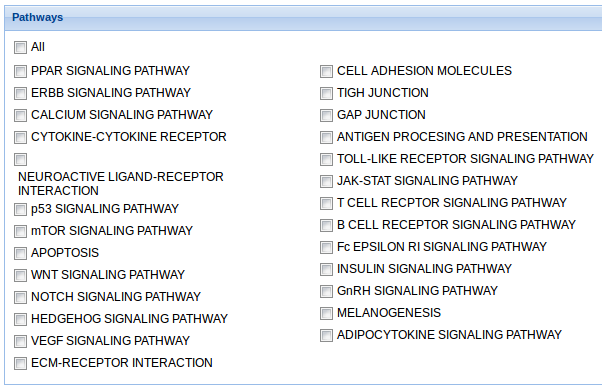
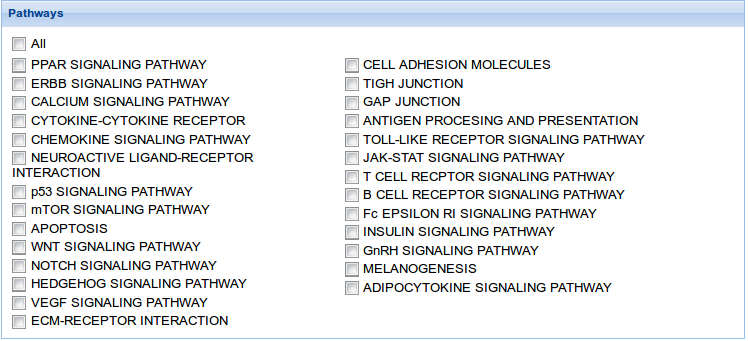
5. Pathways: Check the pathways included in the analysis. If All is selected, the analysis is performed to all the pathways in the list.
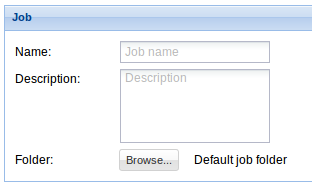
6. Job: Indicate the Job name, a description (optionally) and select the destination bucket. See Data management section to find details on how to create a bucket.
7. Run: Once all options are set you can run the job. You may get some error message if some parameters are not properly set. Insert a name for this job and click Run. The job will appear at the Jobs and Data list panel. Wait until the job is coloured green to click and check your results.

PATHiPRED
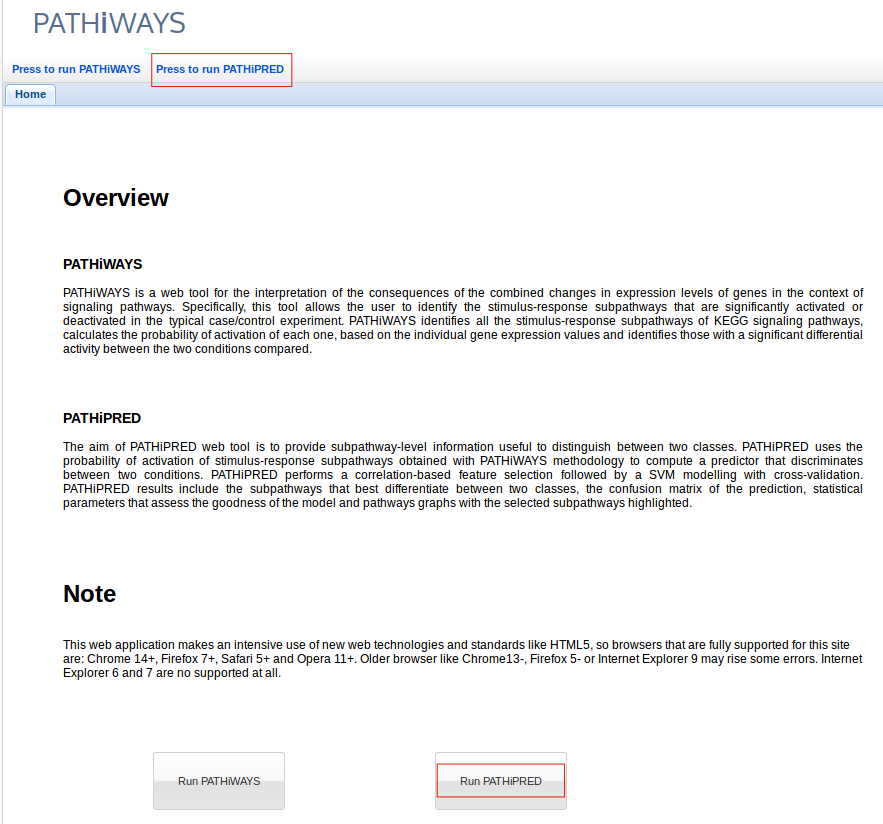
To start using PATHiPRED click on any of the Run PATHiPRED buttons.
You will redirected to the form page.
1. Species: Select the specie and the platform you are going to work with. We currently support analyses for human and mouse, and Affymetrix Human Genome U133 Plus 2.0, U133A and U133 A 2.0 Arrays for human and Affymetrix Mouse Gene 1.0 ST Array and Affymetrix Mouse Genome 430 2.0 Arrayfor mouse, but soon new species and platforms will be added.
2. Select your data: Click Browse data button and select the previously uploaded normalized matrix data or compressed CEL file. See Data management section to find details on how to upload your data. For information on the input file formats see Input files section.
3. Experimental design: Click Browse data button and select the previously uploaded experimental design file. See Data management section to find details on how to upload your data. For information on the input file formats see Input files section. Select the variable type in the experimental design type option. Then fill Condition 1 and Condition 2 fields with the two experimental conditions that are going to be compared. Be careful that these words and the ones in the experimental design file match.
4. Other parameters: Select the way you want PATHiWAYS summarize the activation probabilities of all the genes mapping belonging to a node and the k equal size subsamples for cross-validation.
5. Pathways: Check the pathways included in the analysis. If All is selected, the analysis is performed to all the pathways in the list.
6. Job: Indicate the Job name, a description (optionally) and select the destination bucket. See Data management section to find details on how to create a bucket.
7. Run: Once all options are set you can run the job. You may get some error message if some parameters are not properly set. Insert a name for this job and click Run. The job will appear at the Jobs and Data list panel. Wait until the job is coloured green to click and check your results.
